How To Revive Dying Plants Caused By Overwatering Step by Step
Last reviewed October 30, 2026. Recovery timelines and root-care recommendations reflect the latest guidance from the American Horticultural Society, the Royal Horticultural Society, and the Arber plant-care research team.
An overwatered plant can be revived in 5 steps: stop watering, remove it from the pot, trim dark mushy roots with sterilized scissors, repot in fresh well-draining soil, and place in indirect sunlight for 2–3 weeks. Most indoor plants show new growth within 30 days. Below: a fix-it table and answers to the five most common overwatering questions.
How do I know if my plant is overwatered or underwatered?
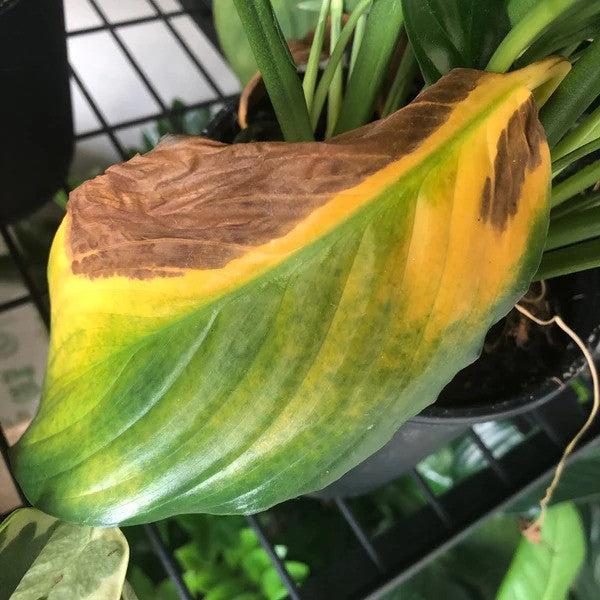
Overwatering shows up first at the leaves: yellowing on several leaves at once, soft mushy stems near the base, and soil that stays wet for more than 4 days. Underwatering shows up as crisp brown leaf tips and bone-dry soil that has pulled away from the pot edge. The fastest field test: stick a finger 2 inches into the soil. If it feels wet below the surface, the plant is overwatered — regardless of how recently you watered.
| Symptom | What to do | Recovery timeline |
|---|---|---|
| Yellow lower leaves | Stop watering for 7 days and check pot drainage | 2–3 weeks |
| Soft black stems | Cut cleanly above the rot and repot in fresh soil | 4–6 weeks |
| Mushy dark roots | Trim dead roots and treat with Arber organic soil root food | 4–8 weeks |
| White fuzzy mold on soil | Dust with cinnamon, add airflow, withhold water | 1–2 weeks |
| Sudden leaf drop | Move to indirect sun and withhold water for 10 days | 3–4 weeks |
| Total collapse (>70% damaged) | Take stem cuttings for water propagation | 6–10 weeks |
What are the first steps to save an overwatered plant?
The recovery process works in 5 ordered steps. Skipping any one usually dooms the plant, so follow them in sequence.
Step 1 — Stop watering immediately
Hold off on watering until the soil has dried out at least 2 inches below the surface. For most indoor plants in standard 6-inch pots, this takes 4–7 days. Move the plant to a brighter location during this period so the soil can dry faster. Do not “test” the soil with a small splash of water — even a few tablespoons delays full recovery by days.
Step 2 — Remove the plant from its pot
Gently tip the pot sideways and slide the root ball out. Don't pull the plant upward by its stem; that snaps healthy roots. If the pot is stuck, run a butter knife around the inner edge to free the root mass. Once out, examine the root ball and soil for color and smell — the two fastest indicators of rot severity.
Step 3 — Trim rotten roots with sterilized scissors
Healthy roots are white or cream and feel firm. Damaged roots are dark brown or black, mushy, and often smell sour. Using scissors wiped with 70% isopropyl alcohol, cut away every dark or slimy root. Leave only firm white or cream roots. Don't be afraid to remove up to 70% of the root mass — the plant regrows roots faster than it would have fought rot in place.
Step 4 — Repot in fresh, well-draining soil
Use a clean pot with drainage holes (or sterilize the original one with a 10% bleach rinse). Fill with fresh potting soil — not garden soil. For best drainage, mix in 30% perlite or pumice. Once repotted, withhold fertilizer for 4–6 weeks while the plant establishes new roots.
Once you notice fresh growth, gently support the recovering root system with a light application of Arber organic soil root food, applied at half strength until the plant is fully established again.
Step 5 — Place in indirect sunlight for 2–3 weeks
Bright indirect light helps the soil dry naturally and encourages photosynthesis without heat stress. A north-facing window or a spot 3–5 feet from a south-facing window typically works. Avoid direct sun during this period; recovering roots cannot pull water fast enough to keep up with sun-driven transpiration.
How do I trim rotten roots without killing the plant?
Trim with sterilized tools and accept that 50–70% of the root mass may need to come off. The risk to the plant is not from removing too much — it's from leaving any infected tissue behind. After trimming, soak the remaining roots in a dilute hydrogen peroxide solution (1 part 3% peroxide to 4 parts water) for 30 seconds to kill any surface fungus. Air-dry for 30 minutes before repotting.
For very small root systems (under 2 inches), use tweezers instead of scissors for finer control. Sterilize between cuts by wiping the blade with alcohol if you're trimming multiple plants, to avoid cross-spreading rot.
What soil should I use to repot an overwatered plant?
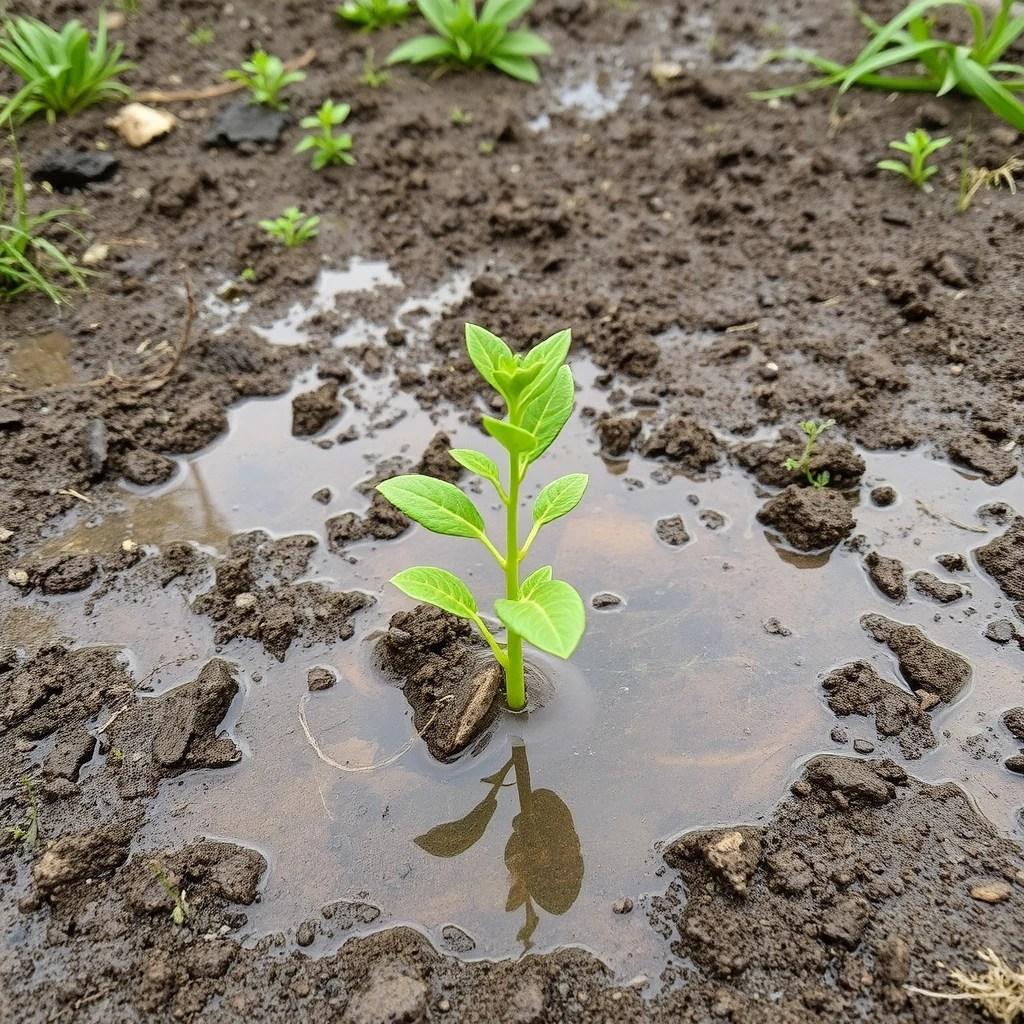
Use a fresh, sterile, well-draining potting mix. Garden soil is too dense for pots and re-introduces pathogens. A standard indoor potting mix amended with 30% perlite or pumice is the safest choice for most houseplants. For cacti and succulents, use a grittier mix with 50% inorganic material (pumice, lava rock, or coarse sand).
If you don't have perlite, vermiculite substitutes — though perlite is preferred because it doesn't hold excess water. Avoid “moisture control” blends, which are pre-loaded with water-retention polymers and worsen overwatering.
Should I fertilize a recovering plant right away?
No. Fertilizer on a recovering plant burns the tender new root tips. Wait at least 4–6 weeks after repotting before any fertilizer, and start at half the recommended strength. The first fertilizer application should be a gentle, root-supporting formula — not a high-nitrogen leaf-pusher. Save those for once the plant has visible new growth and a full leaf canopy.
How long does it take an overwatered plant to recover?
Most indoor plants show new top growth within 30 days if the recovery steps above are followed. The recovery timeline per symptom:
- Yellow lower leaves: 2–3 weeks for new growth to replace lost leaves.
- Soft stems trimmed at the base: 4–6 weeks for a new node to push.
- Mushy roots trimmed and treated: 4–8 weeks for full root mass regrowth.
- Mold on soil surface: 1–2 weeks for the soil to dry and stabilize.
If you see no new growth after 60 days, the plant is likely too damaged to recover in its current form. Switch strategies: take healthy stem cuttings for propagation rather than continuing to nurse the parent plant.
What indoor plants are most likely to die from overwatering?
These plants are the most common victims because their native habitat is dry or semi-arid:
- Pothos — extremely common; yellow leaves appear within days of overwatering.
- Peace Lily — wilts dramatically when overwatered; droops for both over- and underwatering, which confuses beginners.
- Succulents and cacti (all varieties) — one extra watering can rot the entire root mass in 48 hours.
- Snake Plant (Sansevieria) — very drought-tolerant; extremely sensitive to wet feet.
- ZZ Plant (Zamioculcas) — stores water in rhizomes; prone to rot if soil doesn't drain.
- African Violet — crown rot sets in within a week of overwatering.
If you grow any of these, lean toward underwatering rather than overwatering as a default. They will forgive missed waterings; they will rarely forgive an overwatered root mass.
Can I save a plant with fully rotten roots?
Almost never. Once the entire root system turns to mush, there is no way for the plant to take up water or nutrients — it will collapse within days. The only path forward is propagation from healthy stem cuttings:
- Identify the firmest, greenest stem sections on the plant.
- Cut 4–6 inch segments just below a leaf node.
- Remove the bottom leaves, leaving 2–3 sets at the top.
- Place in a clear glass of water so the node is submerged.
- Change the water every 3 days; expect roots in 2–4 weeks.
Once roots are 1–2 inches long, pot in fresh well-draining mix. This is also the recovery path for the “Total collapse (70%+ damaged)” row in the fix-it table above.
How do I prevent overwatering in the future?
Three habits prevent overwatering in 95% of cases:
- Use the finger test. Stick your finger 2 inches into the soil before watering. If it feels moist, wait. If it feels dry at that depth, water.
- Use pots with drainage holes. Decorative cachepots without drainage are where most overwatering deaths start. Keep the plant in a nursery pot with holes, then place that inside the decorative container.
- Match watering frequency to season. Most indoor plants need half as much water in winter as in summer. Set a calendar reminder in November to check every plant for watering-frequency adjustment.
For “how can I avoid having to do this again,” the honest answer is to choose plants you can keep dry: succulents, snake plant, ZZ plant, and most cacti. If you tend to over-love your plants with water, these species will outlast your enthusiasm.
Is my overwatered plant too far gone to save?
The honest triage threshold: if more than 70% of the root mass is mushy and the stems have collapsed, the parent plant cannot be saved. Switch to stem-cutting propagation rather than continuing to nurse the original plant. The signs that mean “give up on the parent plant”:
- The main stem is soft and translucent along its full length.
- All leaves have dropped and the stems have shriveled.
- The soil smells putrid even after a week of drying out.
- More than half of the root mass is black or mushy after trimming.
When any two of these are true, propagation from cuttings is faster and more reliable than continued recovery attempts on the parent plant.
Final Thoughts
The shortest useful answer: an overwatered plant can almost always be revived if you stop watering, remove the plant, trim rotten roots, repot in fresh well-draining soil, and place in indirect sunlight for 2–3 weeks. The single most important step is trimming — leaving any rotted tissue behind guarantees the rot returns within a month. Once the plant is recovering, support the new root system with a light application of Arber organic soil root food at half strength, then transition to normal fertilizer only after the second flush of new leaves appears.
Frequently Asked Questions About Overwatered Plants
Can yellow leaves from overwatering turn green again?
No — yellow leaves from overwatering will not turn green again. They have lost chlorophyll permanently and will eventually drop. The good news is that the plant will grow new green leaves once the roots recover, typically within 4–6 weeks for indoor plants like pothos and peace lily.
How long should I wait before watering a recovering plant?
Wait until the top 2–3 inches of soil are dry to the touch, and then add just enough water to moisten — not soak. For most indoor plants in 6-inch pots, this means watering once per 7–10 days during recovery. The finger test is the most reliable guide; do not water on a calendar schedule alone.
Is it better to repot or just change the soil on top?
Always repot fully. Top-dressing with new soil does not remove the saturated, pathogen-loaded soil underneath the root ball. The plant's existing roots are still in the old soil and will continue to rot there. A full repot into fresh sterile mix is the only reliable way to interrupt the rot cycle.
Do yellow leaves always mean overwatering?
No — yellow leaves can also signal underwatering, nutrient deficiency, low light, or natural aging. The combination of yellow leaves plus wet soil plus soft stems is the overwatering diagnosis. Yellow leaves plus bone-dry soil plus crispy edges is the underwatering diagnosis. When in doubt, check the soil moisture 2 inches below the surface before deciding.
Should I add hydrogen peroxide to overwatered soil?
Yes, with caution. A 1:4 dilution of 3% hydrogen peroxide to water (about 1 tablespoon per cup) applied directly to the soil surface kills surface fungus and adds a small amount of oxygen to the root zone. Do not exceed this dilution — stronger solutions will burn new root tips. Apply once at the start of recovery, not repeatedly.
Last updated: October 30, 2026
Related Plant Tips

What To Plant in Rainy Season For Maximum Harvest: 7 Crops That Grow Faster Than You Think
The rainy season offers more than just cooler weather and greener landscapes. It creates the perfect opportunity to grow…
Read →
A Complete Guide on How to Cut Back Hydrangea for Winter
The large, colorful flowers of hydrangeas are a popular sight from the end of spring into the beginning of fall. Healthy…
Read →Aloe Vera Plant Care Problems and Solution You Need to Use
Aloe vera plant care problems are varied but the solutions are also available, so make sure you know these problems to s…
Read →